概要
- 必要なスペックを確認する
- システムからWindowsの機能で、「仮想マシンプラットフォーム」を有効化する
- WSL2を導入する
- Microsoft StoreからLinuxのディストリビューション(ubuntu)を導入する
- インストールしたubuntuの設定をする
環境
| エディション | Windows 10 Home |
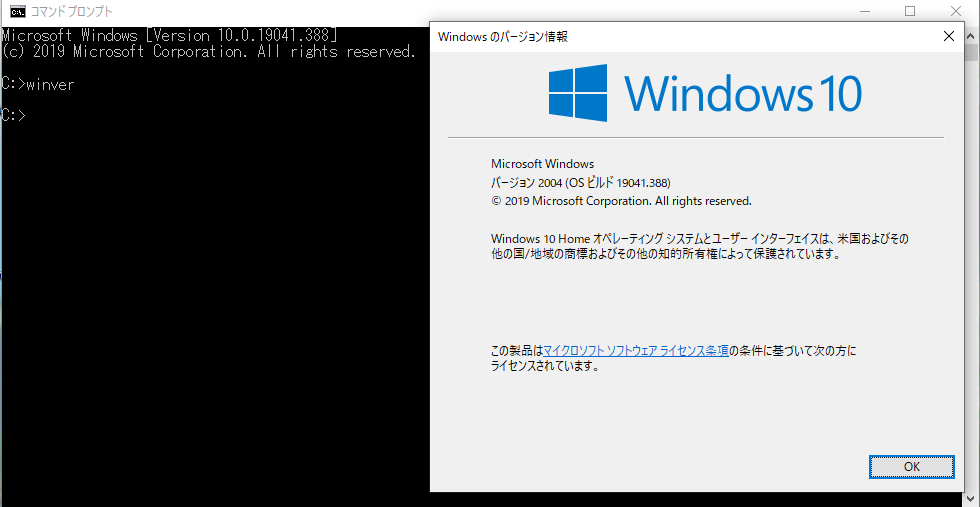
| バージョン | 2004 |
| OSビルド | 19041以上 |
1.必要なスペックを確認する
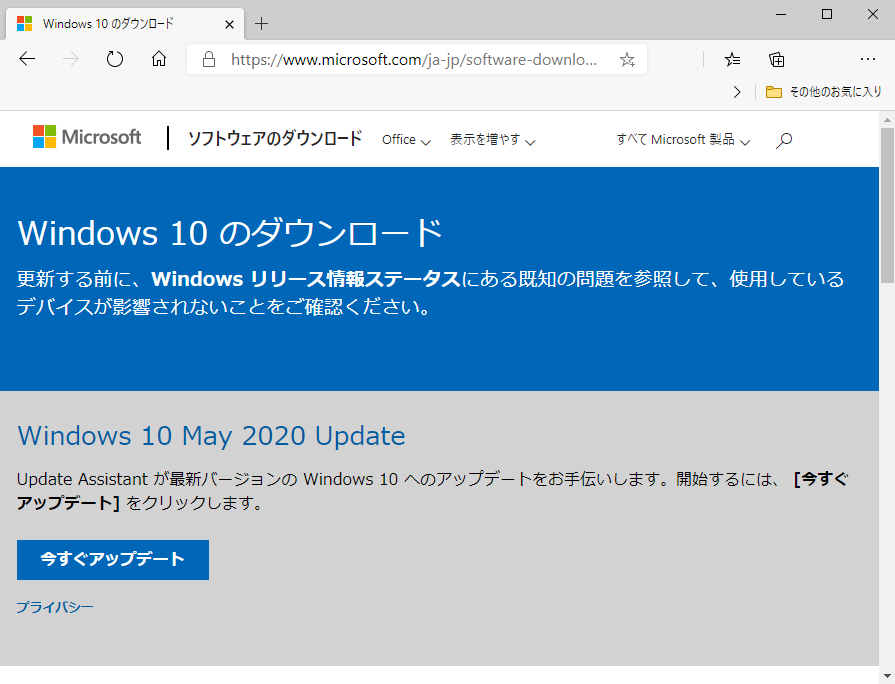
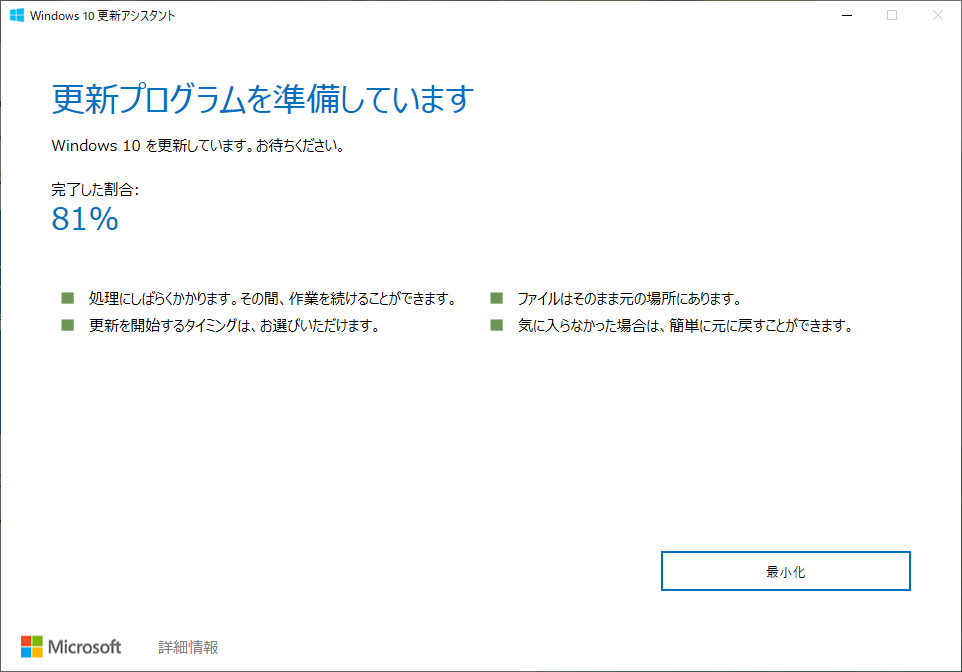
- Windows10 homeのバージョン要件
- Install Windows 10 version 2004 build 19041 → Update
- Enable the WSL 2 feature on Windows. For detailed instructions, refer to the Microsoft documentation. (これは後でインストールします)
- Install Windows 10 version 2004 build 19041 → Update
- ハードウェア要件
- メモリーが4GB以上ある事
- BIOSでvtが有効になっている事
- CPUが対応している事(CPUインフォでEPTが有効である事)
- 調査用のコマンドをダウンロードする→ダウンロード
- コマンドプロンプトを管理者権限で実行して結果を確認する
> Coreinfo64.exe -v
Coreinfo v3.5 - Dump information on system CPU and memory topology
Copyright (C) 2008-2020 Mark Russinovich
Sysinternals - www.sysinternals.com
Intel(R) Core(TM) i7-4710MQ CPU @ 2.50GHz
Intel64 Family 6 Model 60 Stepping 3, GenuineIntel
Microcode signature: 00000027
HYPERVISOR      -       Hypervisor is present
VMX             *       Supports Intel hardware-assisted virtualization
EPT             *       Supports Intel extended page tables (SLAT)
URG             *       Supports Intel unrestricted guest
※EPTに「*」がついていればサポートされており、動作可能です。
2.システムからWindowsの機能で、「仮想マシンプラットフォーム」を有効化する
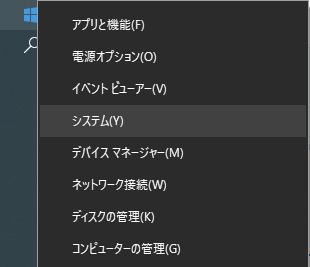
「スタート」を右クリックして、システムを選択する

検索で、「Windowsの機能」を検索して出て来た、「Windowsの機能の有効化または無効化」を選択する。
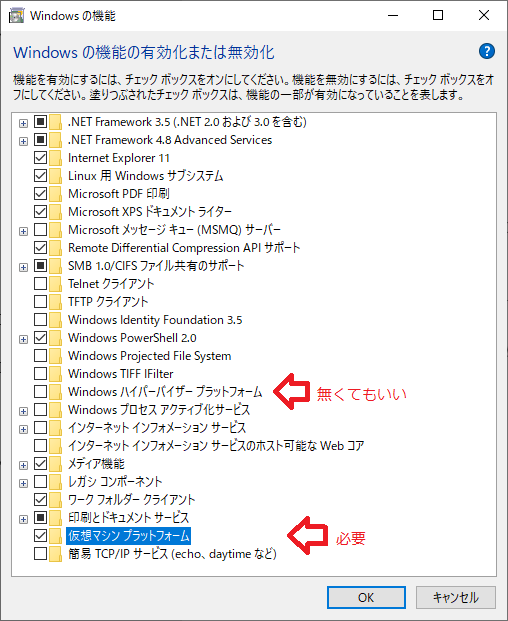
(以前のバージョンでは「Windows Subsystem for Linux」)「仮想マシンプラットフォーム」にチェックを入れて、「OK」を選択し、「今すぐ再起動」を実行するを選択し、Windowsを再起動してください。
※「Windowsハイパーバイザープラットフォーム」は、Androidエミュレータや、OracleVirtualBoxを利用する際に必要
> dism.exe /online /enable-feature /featurename:VirtualMachinePlatform /all /norestart
展開イメージのサービスと管理ツール
バージョン: 10.0.19041.329
イメージのバージョン: 10.0.19041.388
機能を有効にしています
[==========================100.0%==========================]
操作は正常に完了しました。
上記はコマンドでも実行が可能です。
コマンドプロンプトを管理者権限で開き左記のコマンドを実行します
3. WSL2を導入する
- wslをupdateするパッケージをダウンロードする→ダウンロード
- パッケージをインストールする
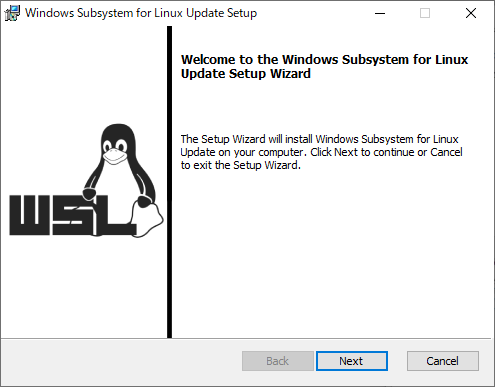
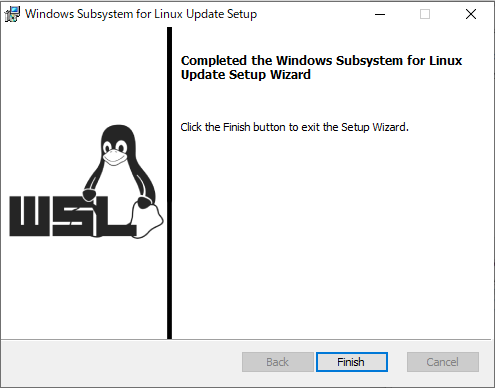
- wslからwsl2へ切り替える
> wsl --set-default-version 24. Microsoft StoreからLinuxのディスとリビューションを導入する
Microsoft Storeに接続→ https://aka.ms/wslstore
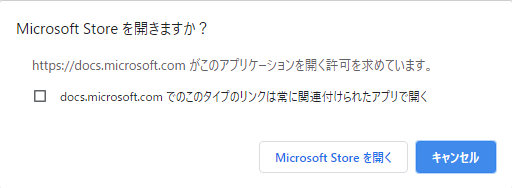
Microsoft storeの接続許可が出ますので、「Microsoft Storeを開く」ボタンを押してください。
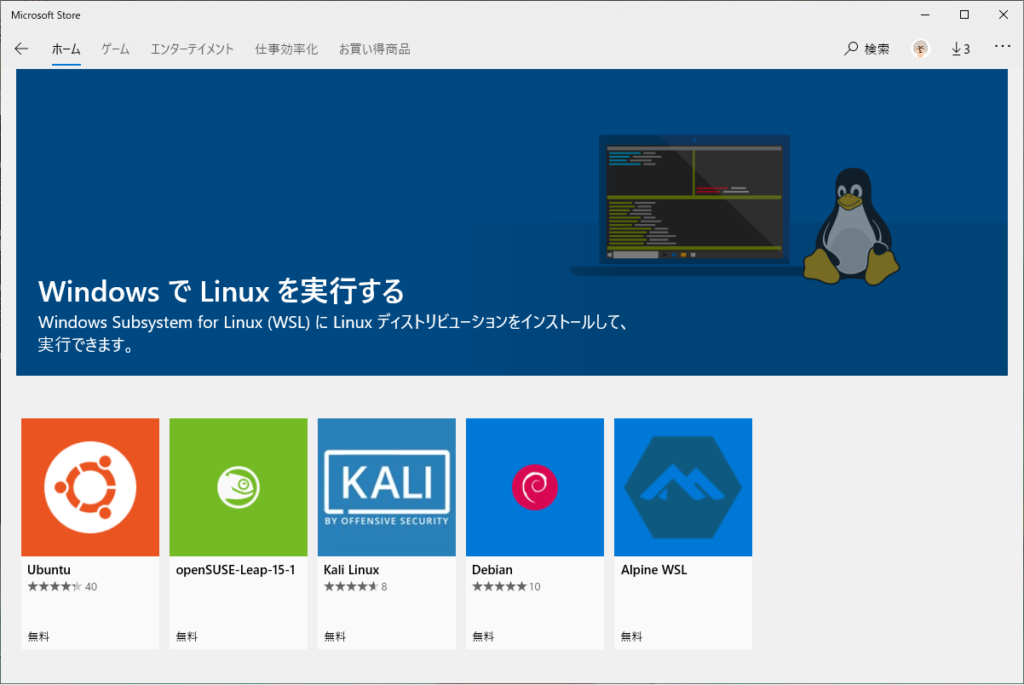
ubuntuを選択してください。(いつも使われておられるディストリビューションがあり、以降の手順が不要でしたら、お気に入りのものをインストールされるのもありかもしれません。wslconfigコマンドで通常起動するものを選択もできますので、複数入れるのもありかもしれませんね。)
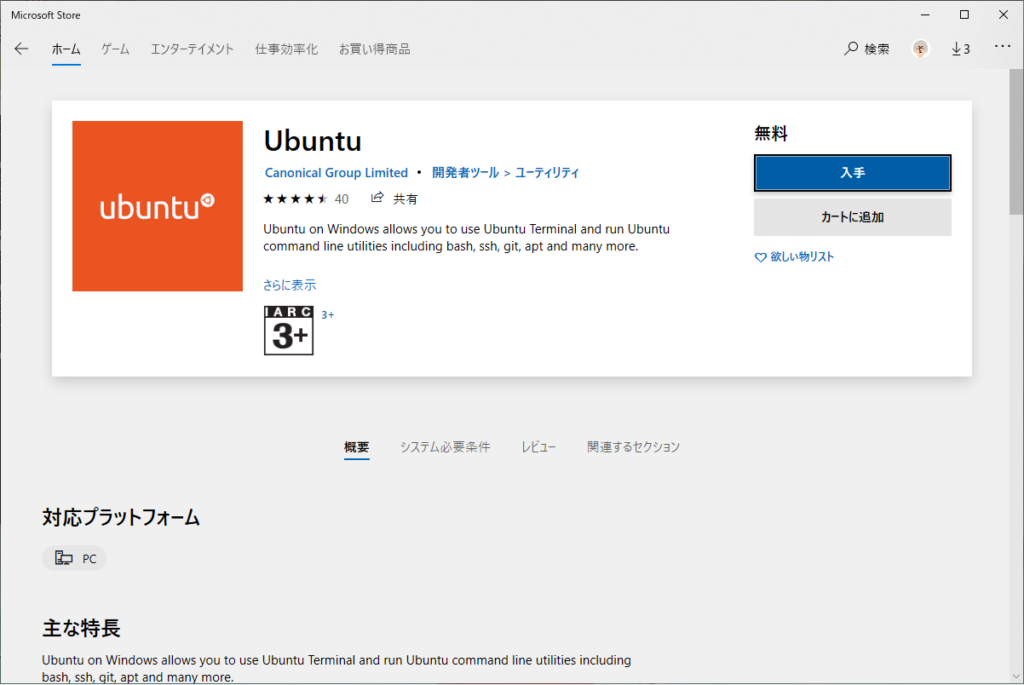
「入手」ボタンを押してください。押すとダウンロードがが始まります。432MB位ありますので、少し時間がかかります。
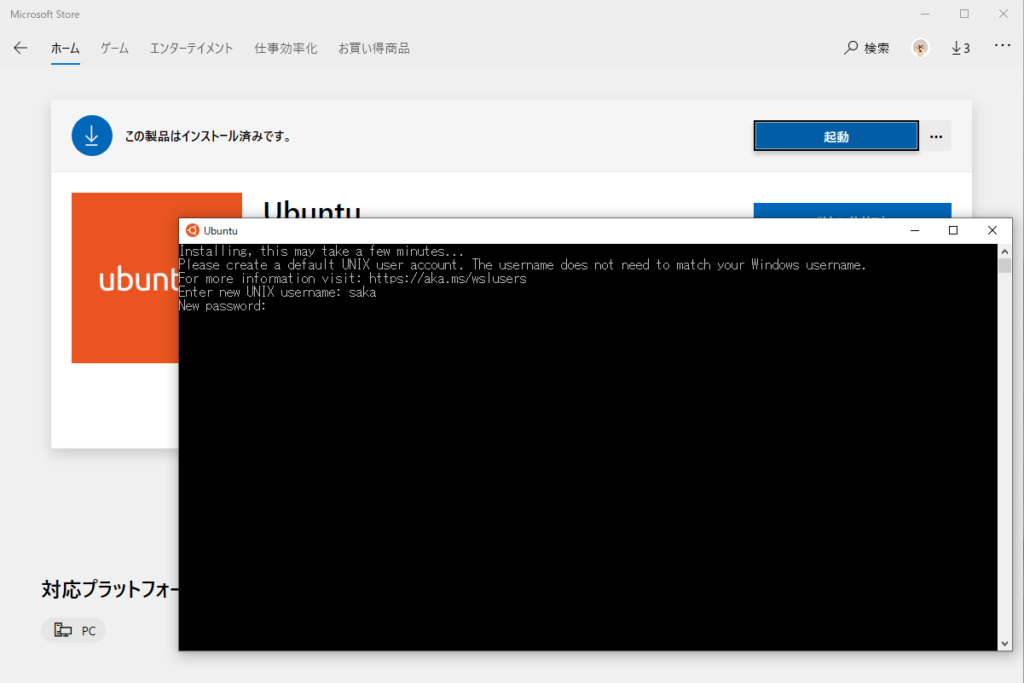
ダウンロードが終わると右上に「起動」ボタンが出てきますので、押してください。
そうすると、ubuntuのアイコンのついた、コマンドプロンプトが出てきて、ユーザIDや、パスワードを聞いてきますので、入力してください。
これでubuntuのインストールの出来上がり~
Windowsのコマンドプロンプトを開いて、以下のようにwslコマンドを入力することで、ubuntuの環境に飛び込むことが出来ます。
> wsl -l -v
  NAME      STATE           VERSION
* Ubuntu    Running         2
> wsl
$ uname -a
Linux MYPC 4.4.0-18362-Microsoft #836-Microsoft Mon May 05 16:04:00 PST 2020 x86_64 x86_64 x86_64 GNU/Linux
※「-v」オプションでエラーが出る場合はOSビルドバージョンが低い状態のままである可能性が高いです。再度ご確認下さい。
5. インストールしたubuntuの設定をする
ubuntuの動作に必要な各種設定や、待望のdockerをインストールします!
$ sudo apt update -y
$ sudo apt upgrade -y
$ sudo apt install -y language-pack-ja
$ sudo update-locale LANG=ja_JP.UTF-8
$ sudo dpkg-reconfigure tzdata
Asia/Tokyoを選択
$ sudo apt install -y manpages-ja manpages-ja-dev
$ sudo apt install -y docker.io docker-compose
$ sudo /usr/bin/dockerd &
$ sudo docker run hello-world
Hello from Docker!
This message shows that your installation appears to be working correctly.
To generate this message, Docker took the following steps:
 1. The Docker client contacted the Docker daemon.
 2. The Docker daemon pulled the "hello-world" image from the Docker Hub.
    (amd64)
 3. The Docker daemon created a new container from that image which runs the
    executable that produces the output you are currently reading.
 4. The Docker daemon streamed that output to the Docker client, which sent it
    to your terminal.
To try something more ambitious, you can run an Ubuntu container with:
 $ docker run -it ubuntu bash
Share images, automate workflows, and more with a free Docker ID:
 https://hub.docker.com/
For more examples and ideas, visit:
 https://docs.docker.com/get-started/
$ sudo docker images
REPOSITORY          TAG                 IMAGE ID            CREATED             SIZE
hello-world         latest              bf756fb1ae65        6 months ago        13.3kB
※dockerdをサービス起動する方法がうまく行かず、調査中です。。。windowsのタスクスケジューラを使う方法があるようですが…
その他
Windowsからwsl上のubuntuのファイルを見る方法
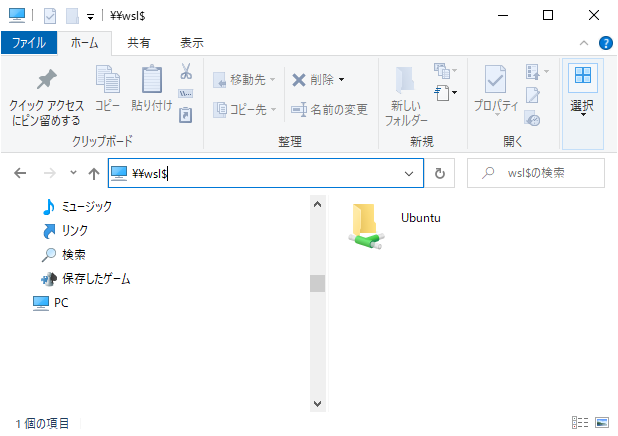
ubuntuのファイルをWindowsから操作する場合は、「\\wsl$」でアクセスが可能です。
検討事項
wsl2上のubuntuにdockerを入れる方向で進めましたが、docker desktopをインストールして、コマンドプロンプトでdockerコマンドを実行できるようにすると、Linuxと操作を同じくしてdockerと戯れることができますが、個人的にはVSCodeからコンテナを操作してアプリを動作させる環境が欲しかっただけというのもあって、VSCodeがwsl2のAPIを使ってものの10秒で仮想OSを起動してアプリを実行させることが出来る事を考えると、あえてdocker desktopをインストールするか悩ましい…メリットを感じたらインストールしてみることにします♪
※DockerDesktopは、2021/9より有料化されています。個人利用もしくはスモールビジネス(従業員数250人未満かつ年間売上高1000万ドル未満(訳注:1ドル110円換算で11億円))、教育機関、非商用のオープンソースプロジェクトでは引き続き無料で利用が可能です。
- 大まかな手順は以下の通り
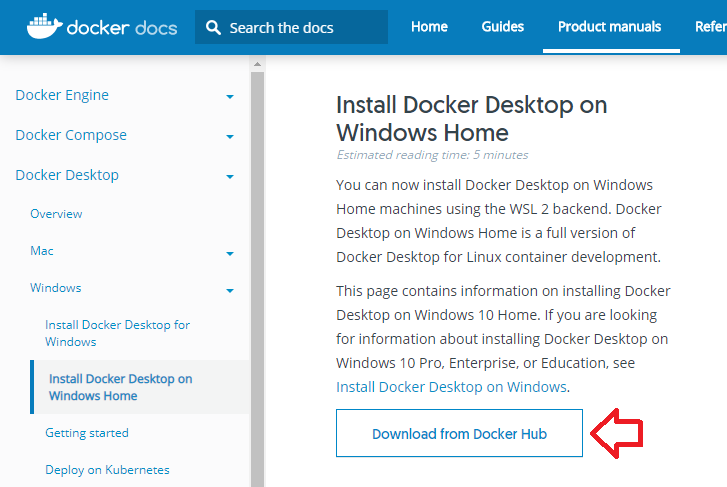
- Install Docker Desktop on Windows Home
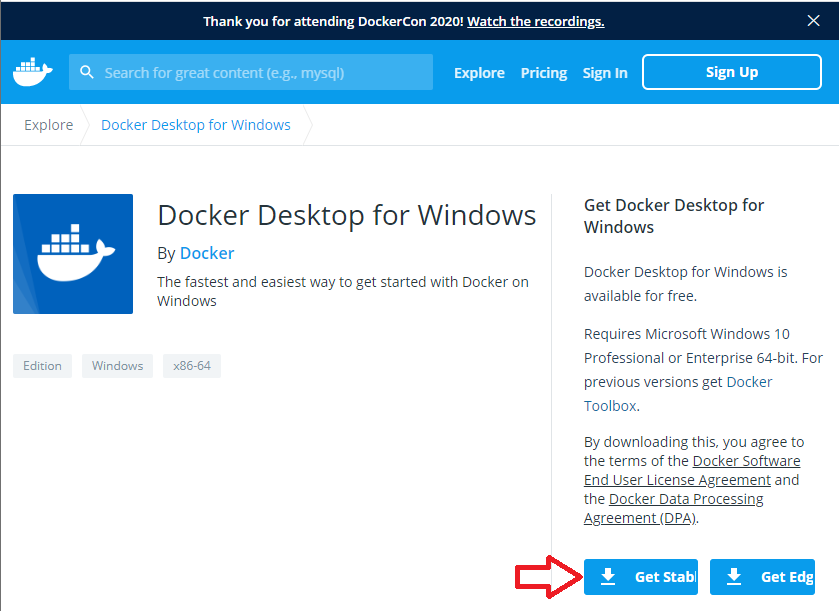
- Get Stable を選択し、ダウンロードする
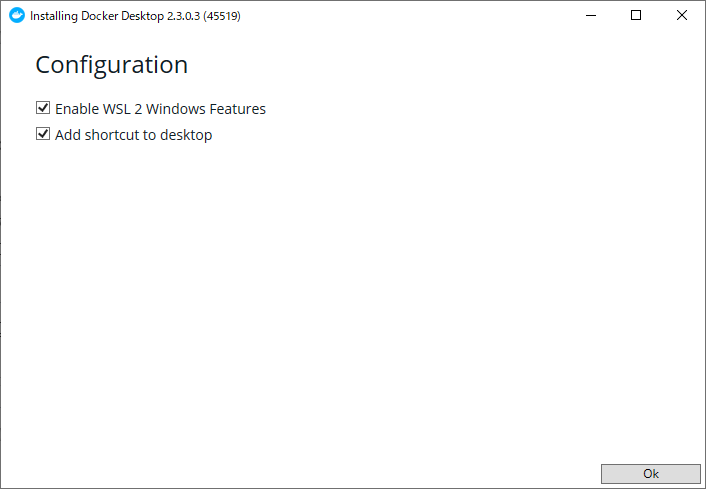
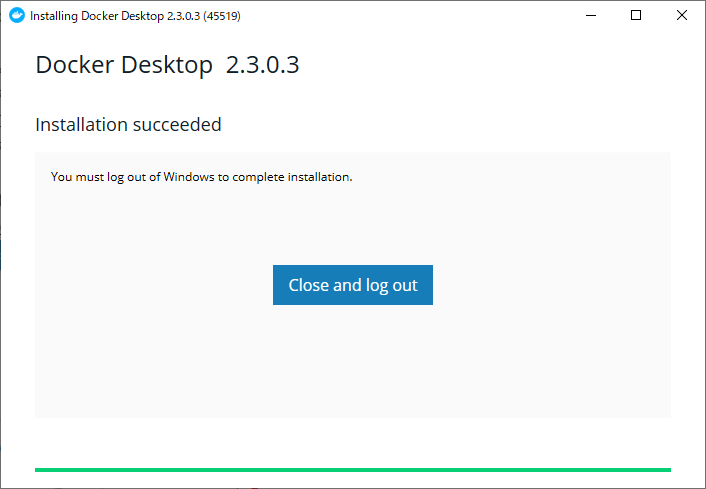
- 「Docker Desktop Installer.exe 」を実行(wsl2を使用)
>wsl -l -v
  NAME                   STATE           VERSION
* Ubuntu                 Stopped         2
  docker-desktop-data    Running         2
  docker-desktop         Running         2
2>docker run hello-world
Unable to find image 'hello-world:latest' locally
latest: Pulling from library/hello-world
0e03bdcc26d7: Pull complete
Digest: sha256:49a1c8800c94df04e9658809b006fd8a686cab8028d33cfba2cc049724254202
Status: Downloaded newer image for hello-world:latest
Hello from Docker!
This message shows that your installation appears to be working correctly.
To generate this message, Docker took the following steps:
 1. The Docker client contacted the Docker daemon.
 2. The Docker daemon pulled the "hello-world" image from the Docker Hub.
    (amd64)
 3. The Docker daemon created a new container from that image which runs the
    executable that produces the output you are currently reading.
 4. The Docker daemon streamed that output to the Docker client, which sent it
    to your terminal.
To try something more ambitious, you can run an Ubuntu container with:
 $ docker run -it ubuntu bash
Share images, automate workflows, and more with a free Docker ID:
 https://hub.docker.com/
For more examples and ideas, visit:
 https://docs.docker.com/get-started/
>docker images
REPOSITORY          TAG                 IMAGE ID            CREATED             SIZE
hello-world         latest              bf756fb1ae65        6 months ago        13.3kB
