Hyper-Vの有効化
1.Powershellを管理者として起動する
2.notepadを使ってHyper-V化するためのコマンドを記述する
notepad hyperv.bat
---
pushd "%~dp0"
dir /b %SystemRorot%\servicing\Packages\*Hyper-V*.mum >hyper-v.txt
for /f %%i in ('findstr /i . hyper-v.txt 2^>nul') do dism /online /norestart /add-package:"%SystemRoot%\servicing\Packages\%%i"
del hyper-v.txt
Dism /online /enable-feature /featurename:Microsoft-Hyper-V-All /LimitAccess /ALL
---
3.作成したコマンドを実行し、再起動を求められるので再起動する
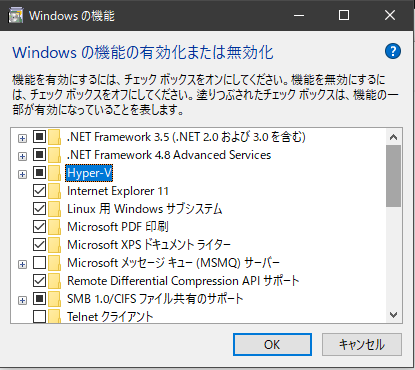
hyperv.bat4.起動したら、Win+ R キーを押して「optionalfeatures.exe」と入力して、システム コンポーネントを開き、Hyper-V のチェックボックスを「■」にし、[OK] をクリックします。
ubuntuのインストールイメージをダウンロードしておく

今回は ubuntu22.04 server のイメージを利用します。
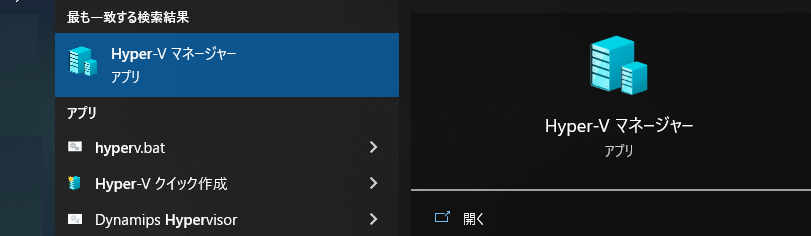
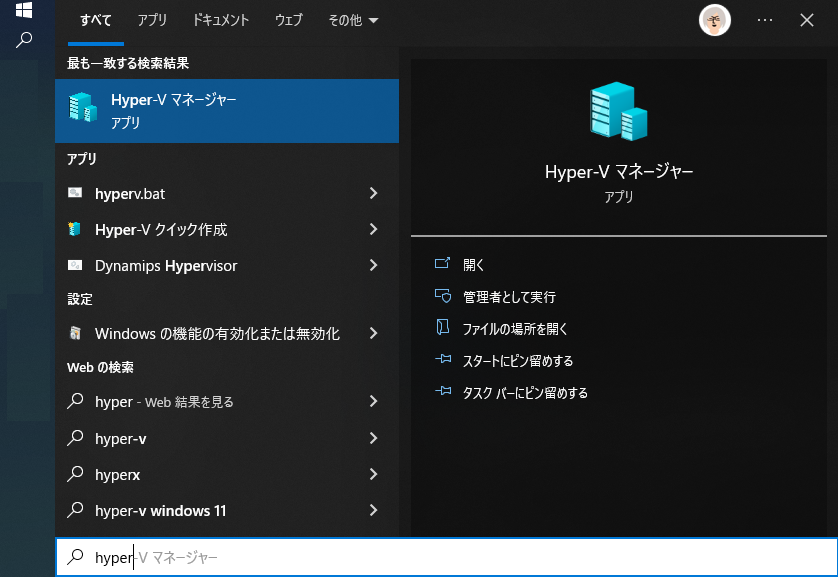
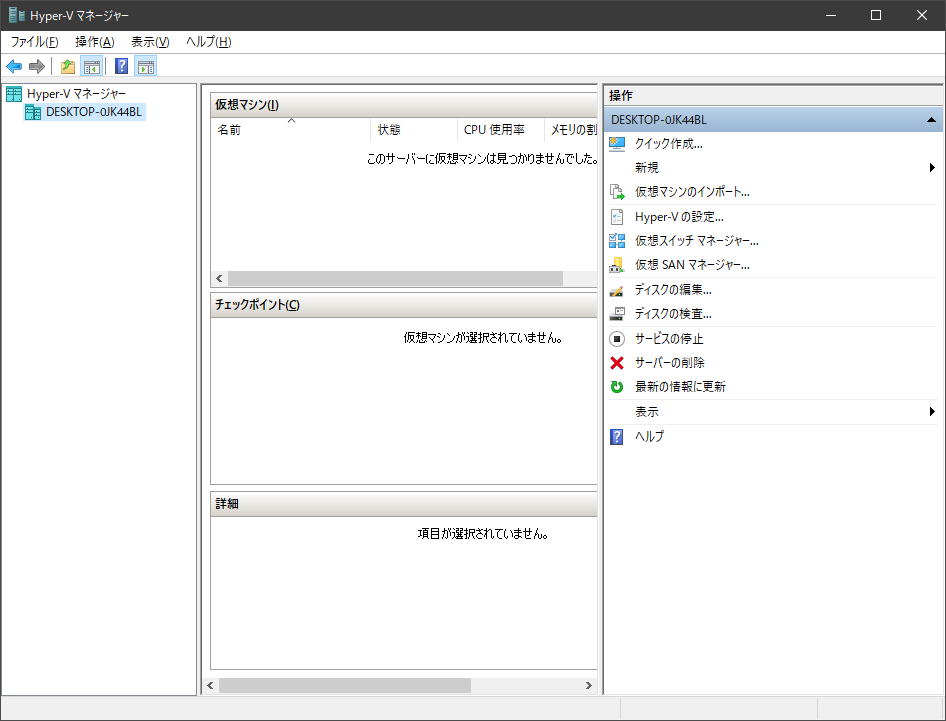
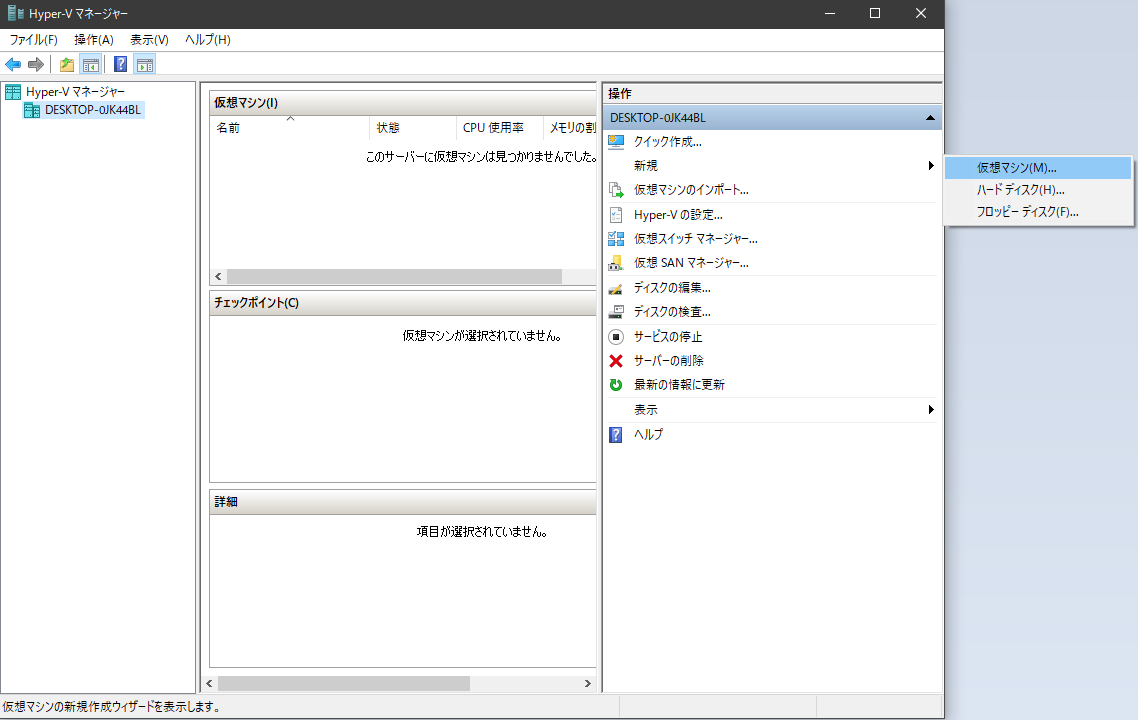
Hyper-Vマネージャーの起動
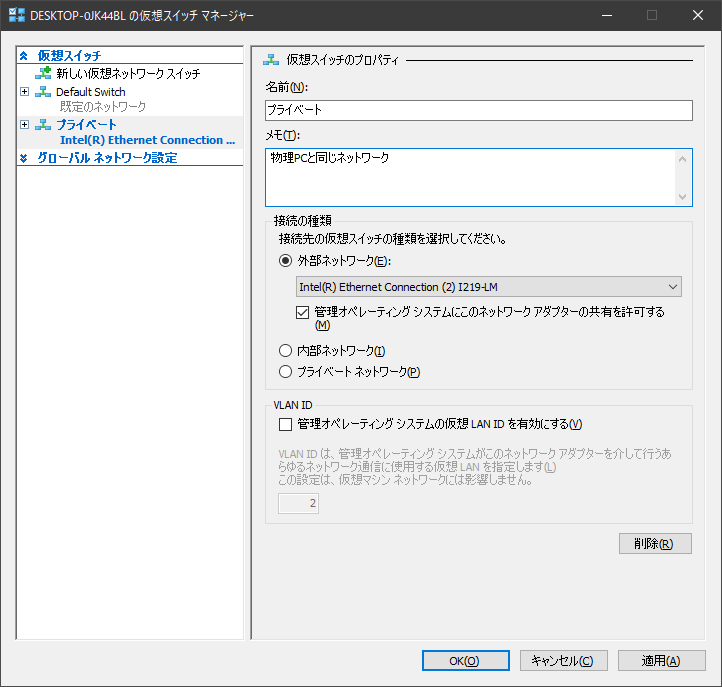
仮想スイッチの作成
Hyper-Vマネージャーの仮想スイッチマネージャーを選択し、ホストマシンと同じネットワークに接続させる。
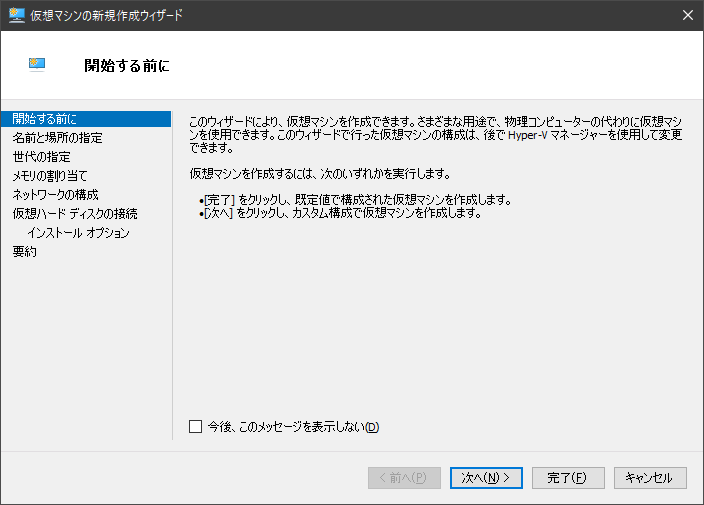
仮想マシンを作成する
「操作」の「新規」から「仮想マシン」を選択
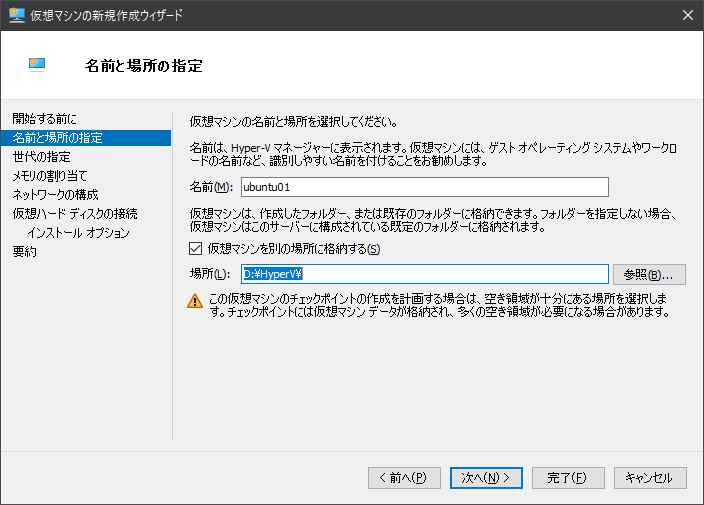
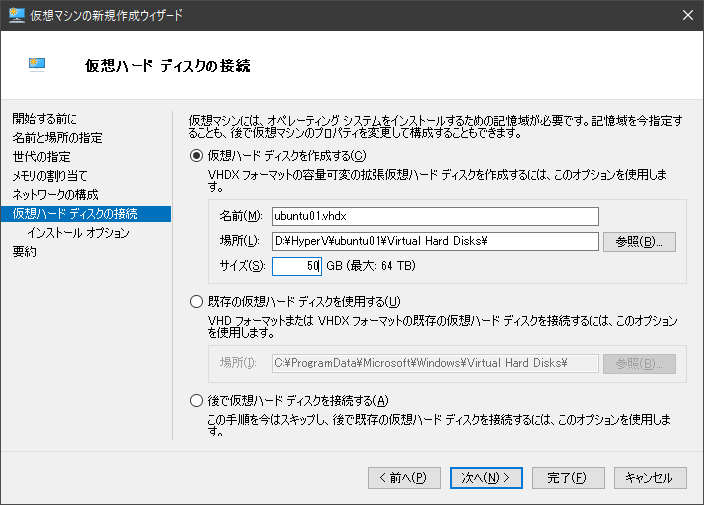
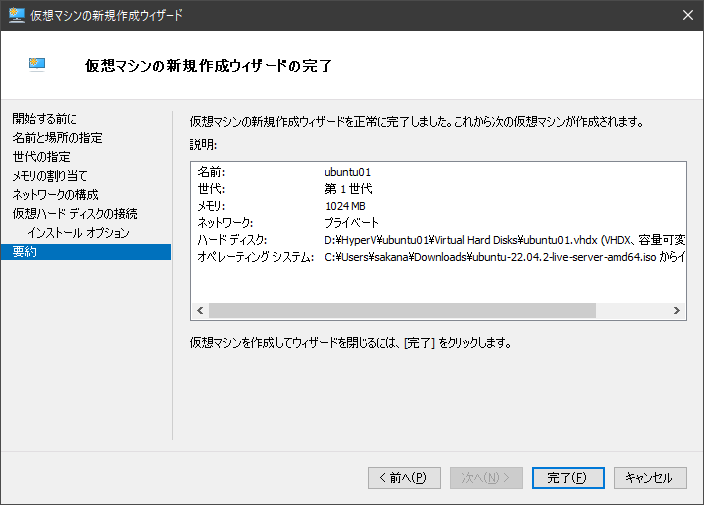
仮想マシンの名前とそのイメージデータの保存場所を設定
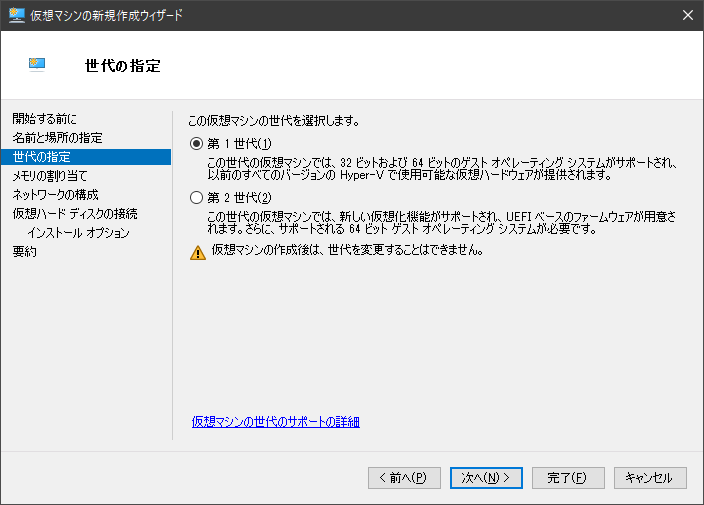
UEFIは操作が面倒なのでここは第1世代を選択しました
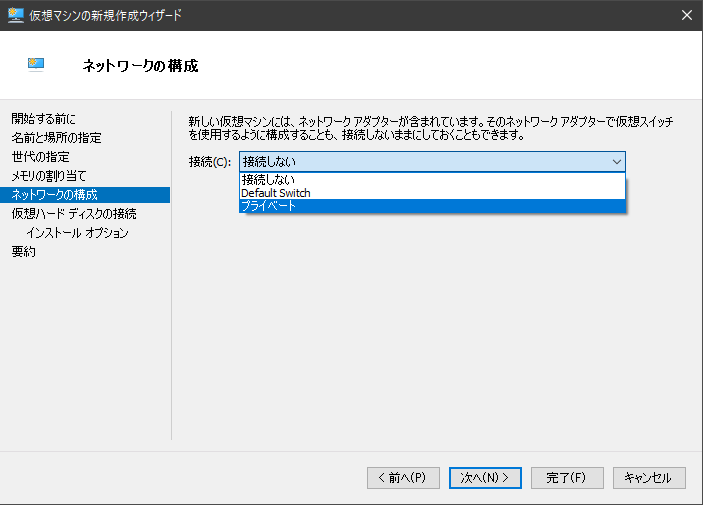
事前に作って置いた「プライベート」のネットワークを使用します。
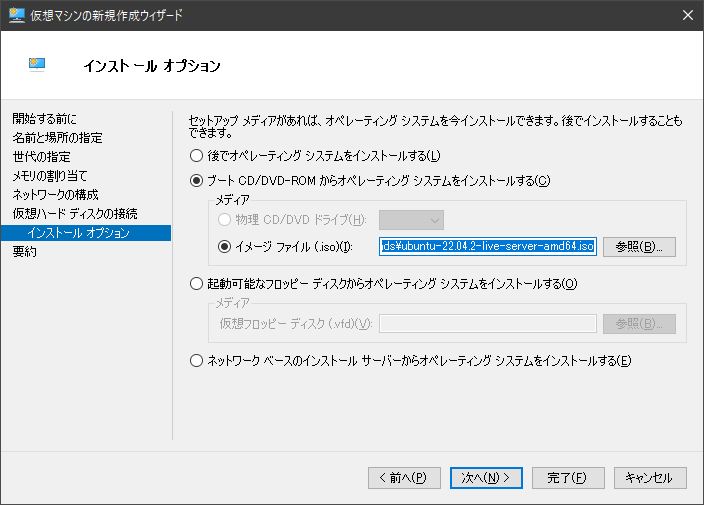
事前にダウンロードしておいたubuntuのインストールメディアを選択します。
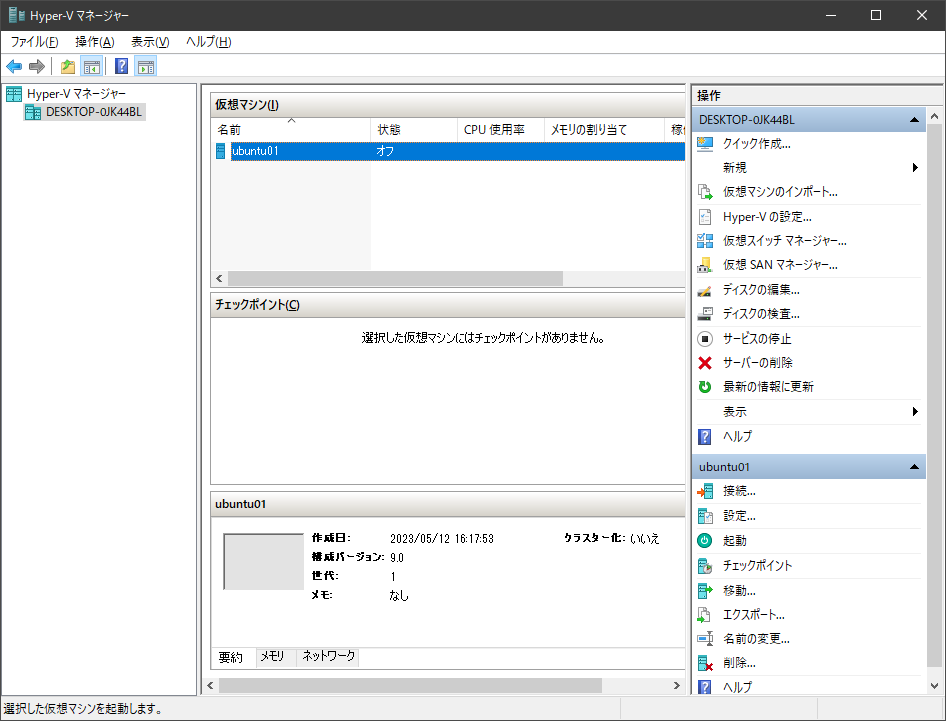
起動します。
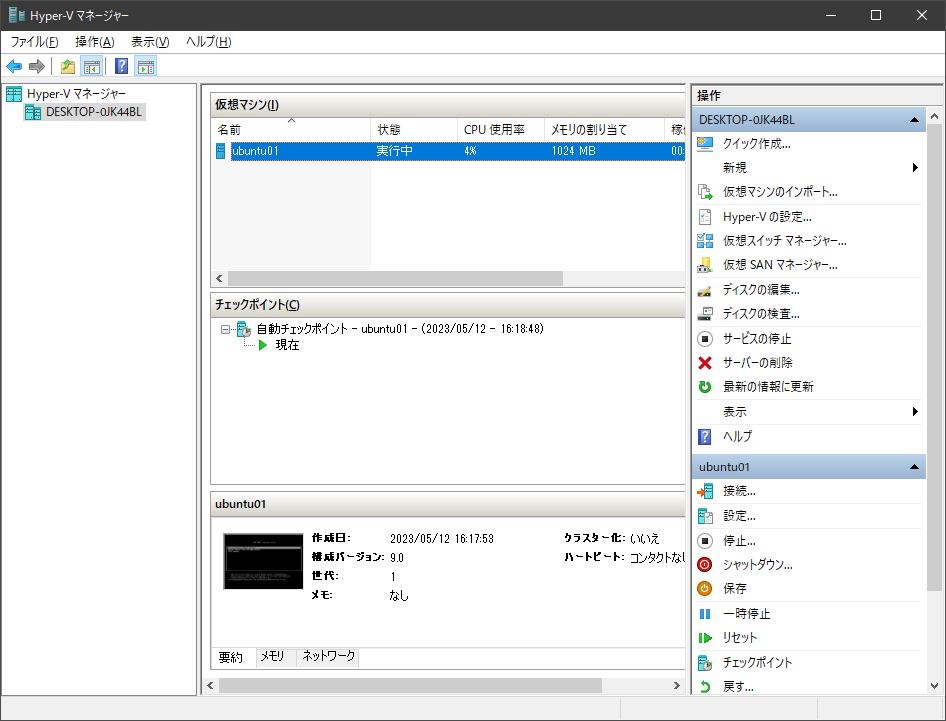
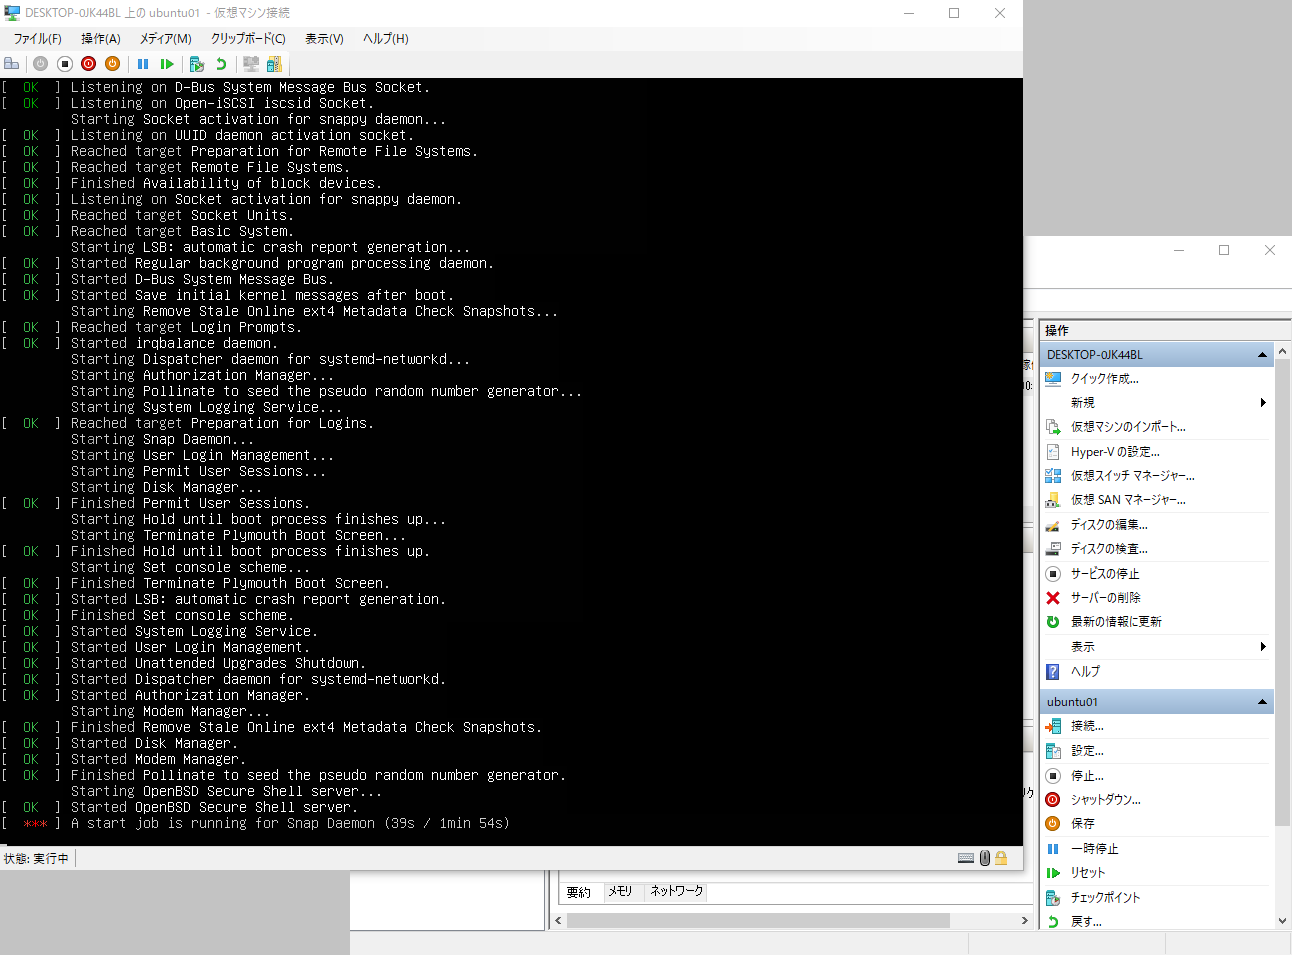
接続を押してubuntuの画面を確認します
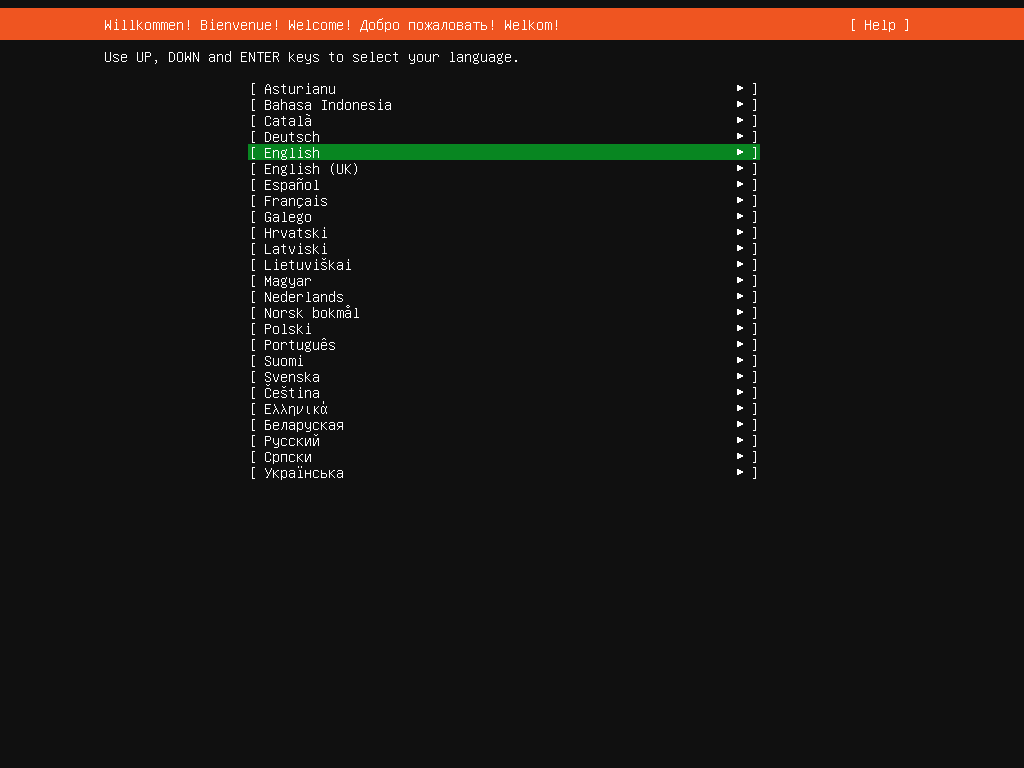
ubuntuをインストールする
日本語が選べなかったのでEnglishにしました…
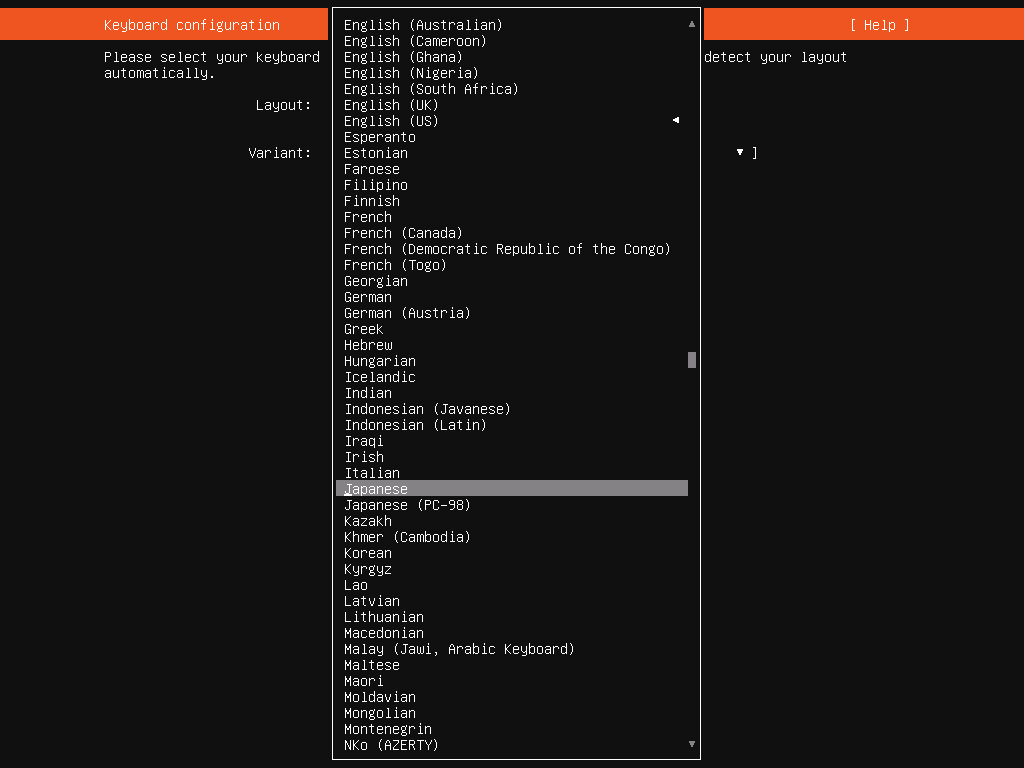
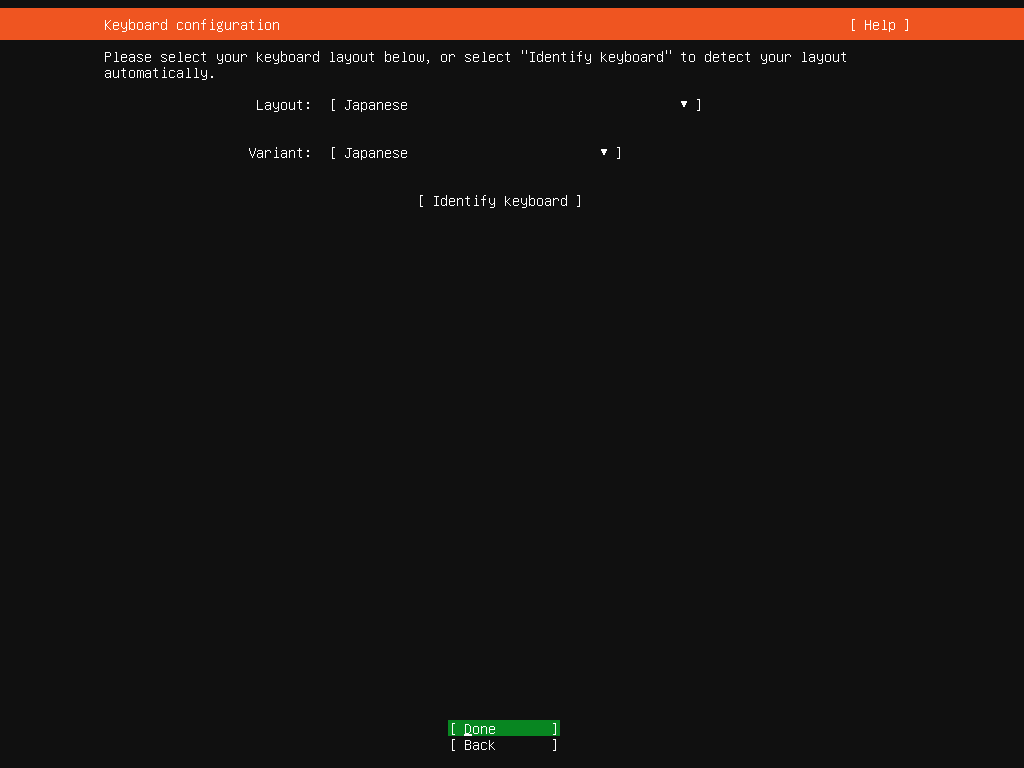
キーボードのレイアウトはJapaneseを選択しました
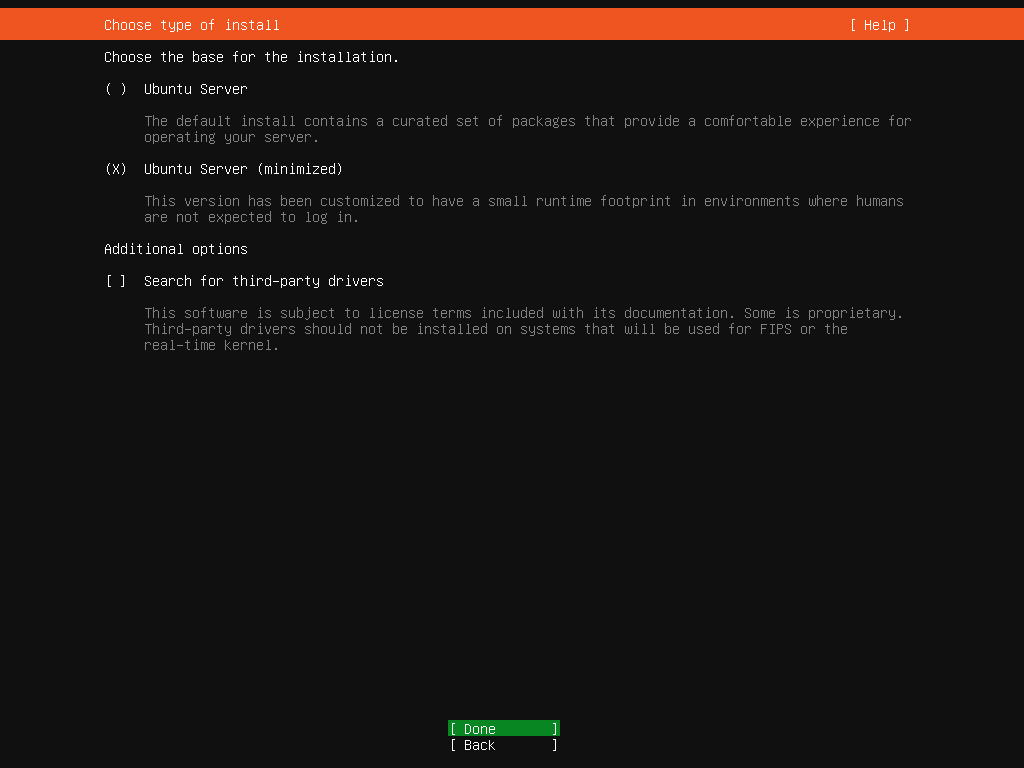
今回は最小でのインストールとします。
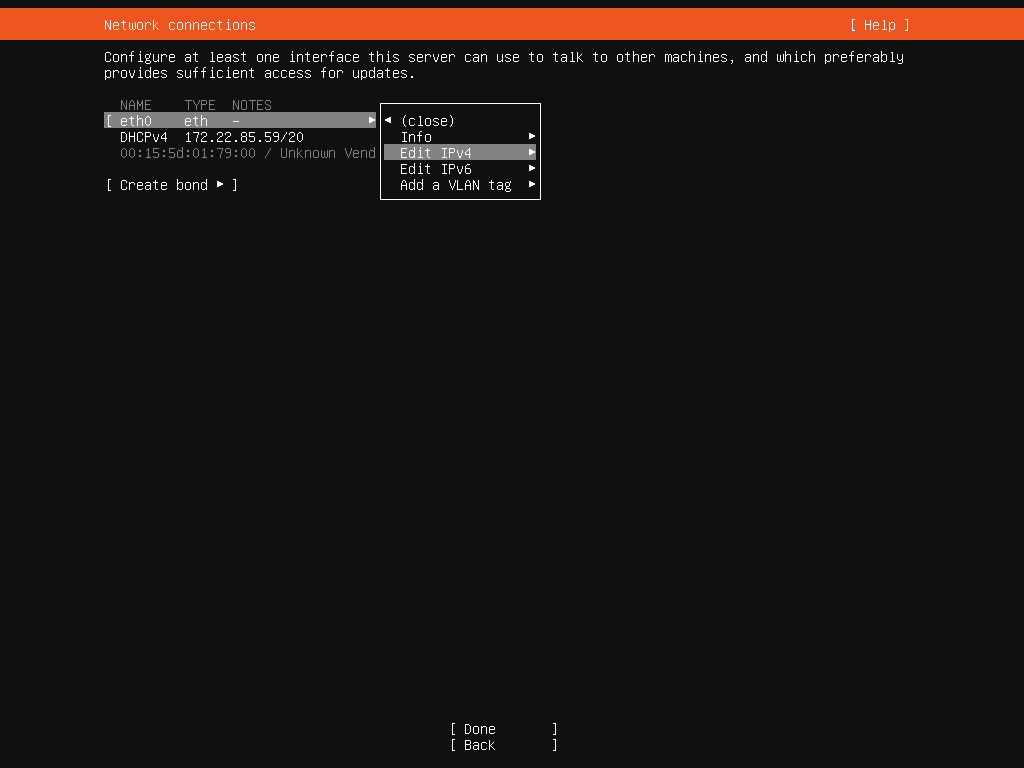
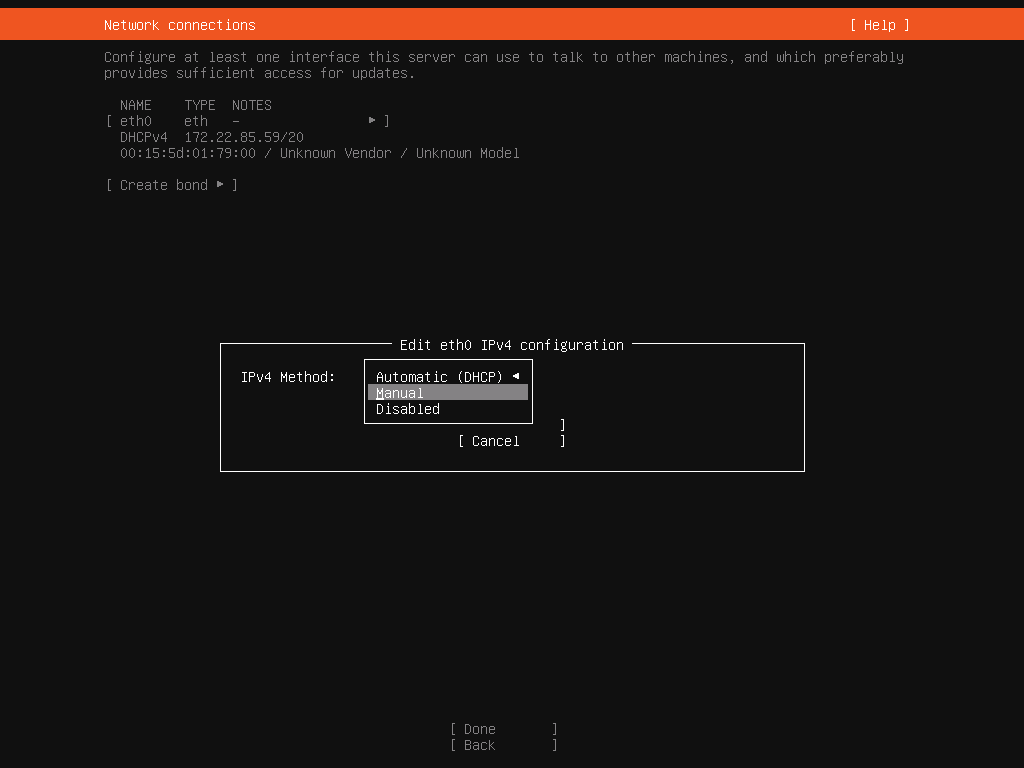
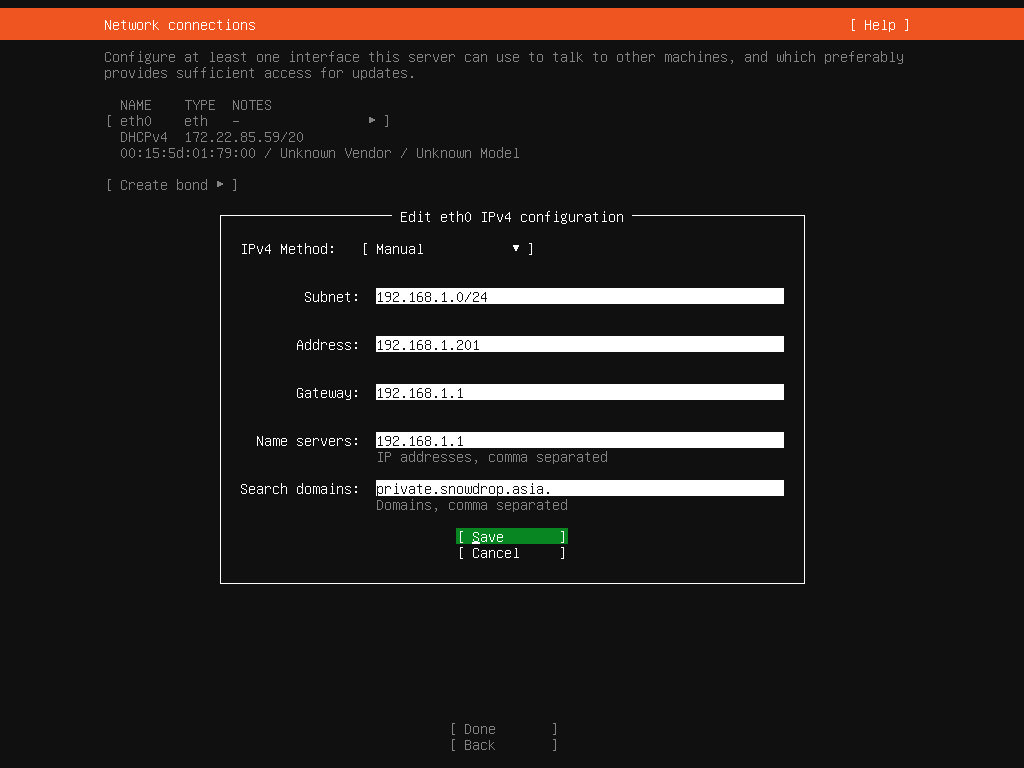
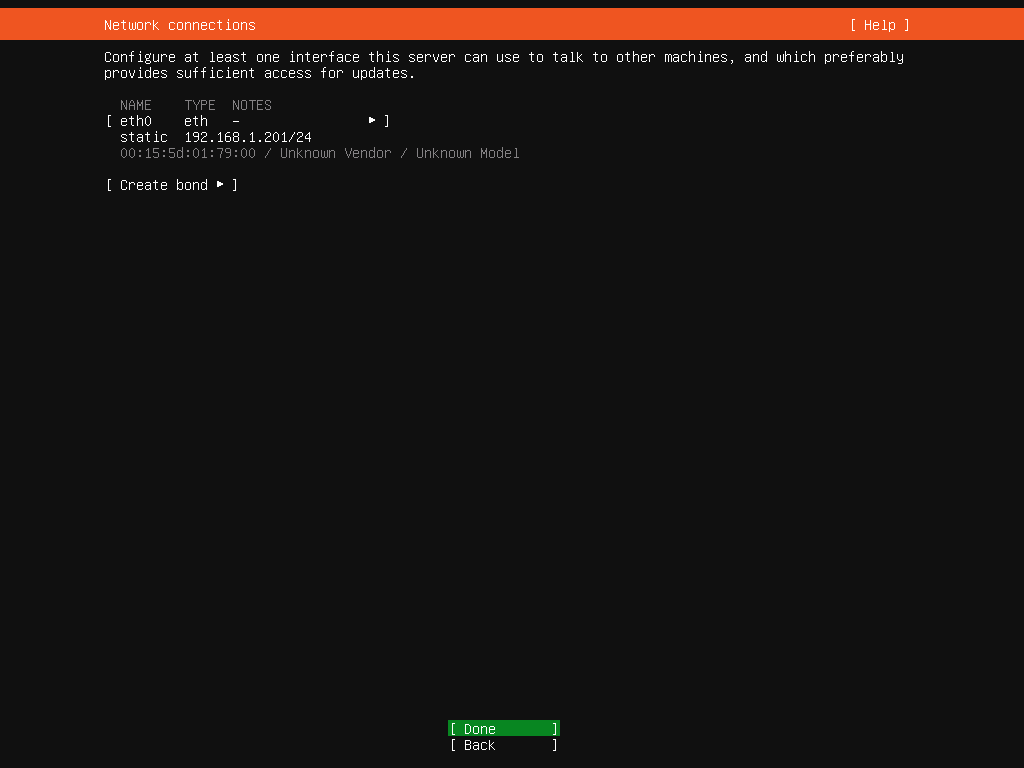
今回はサーバなのでIPアドレスを固定で設定しています。ブロードバンドルータなどからDHCPでアドレスを割り当ててもらうでも良ければDHCPを選択してください。
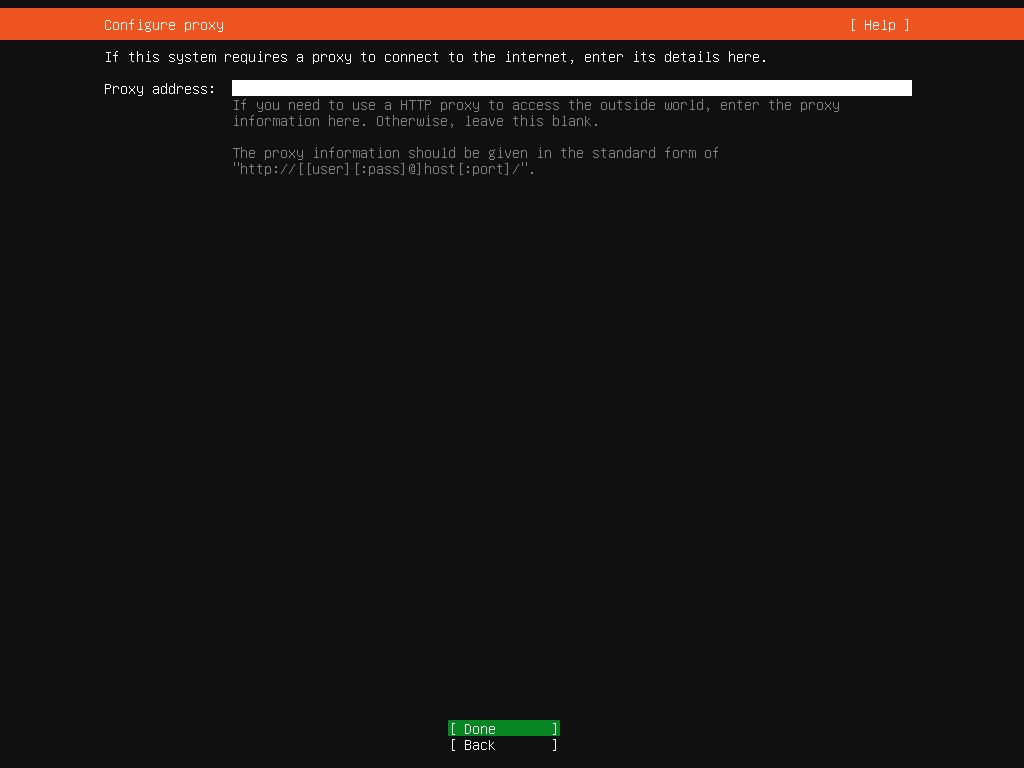
Proxyはありませんので空白にしています。
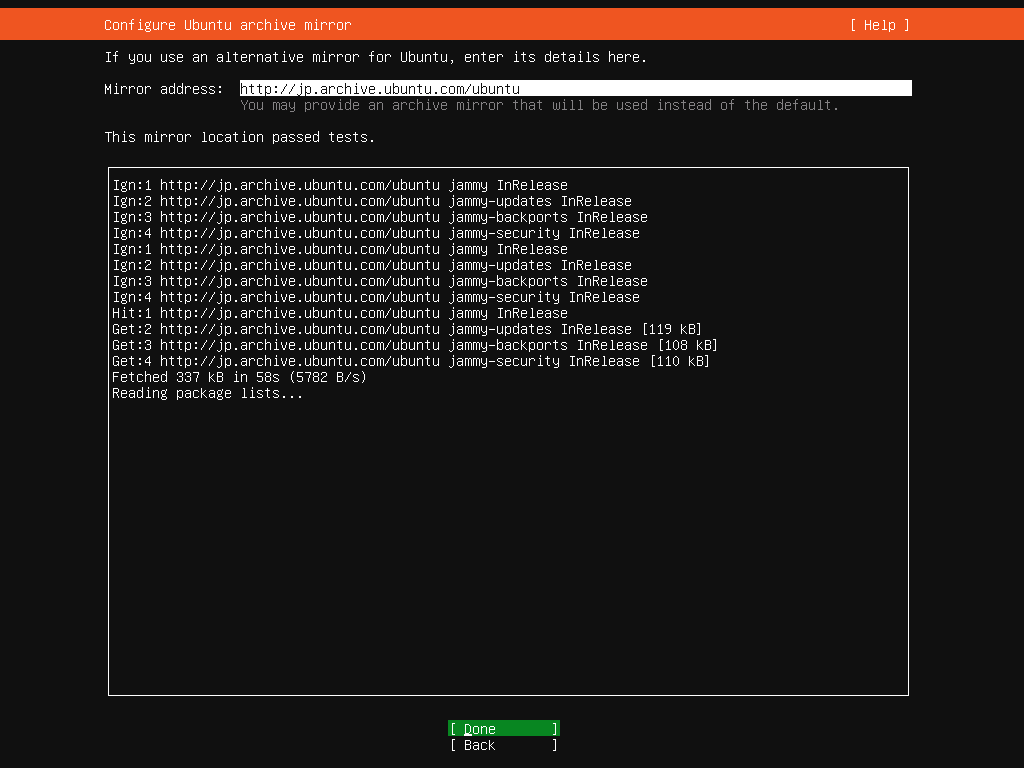
以下画面ではエラーが出ていますが本来はエラー無しですんなりpassします。
LVMを使ってボリューム管理します。
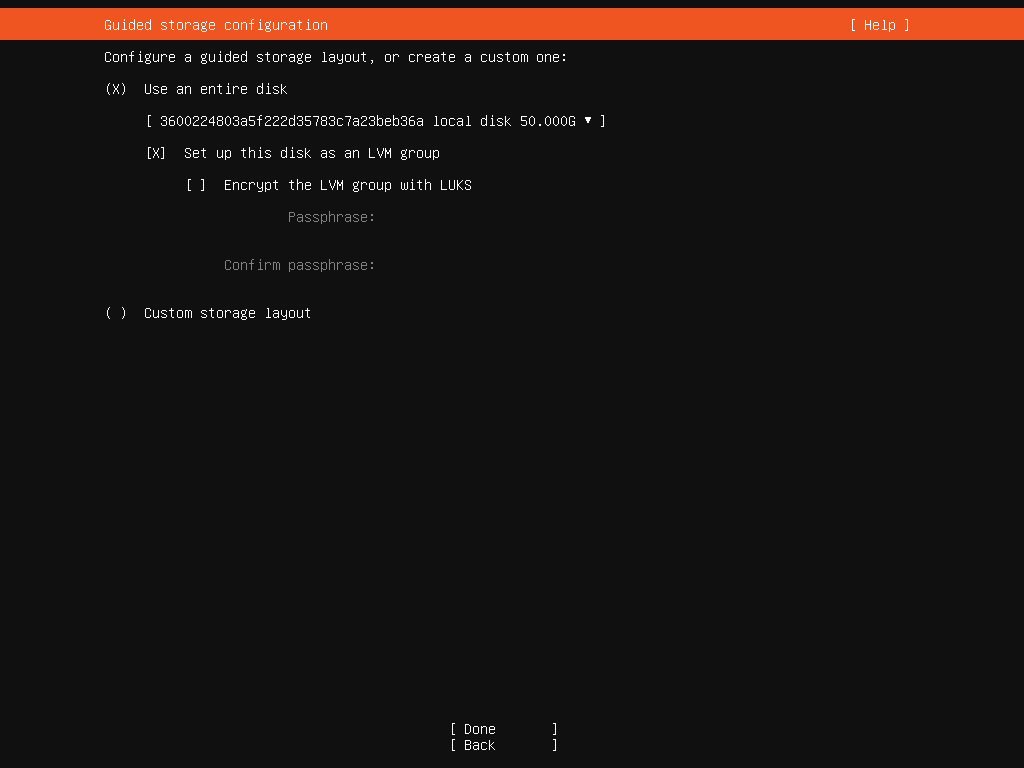
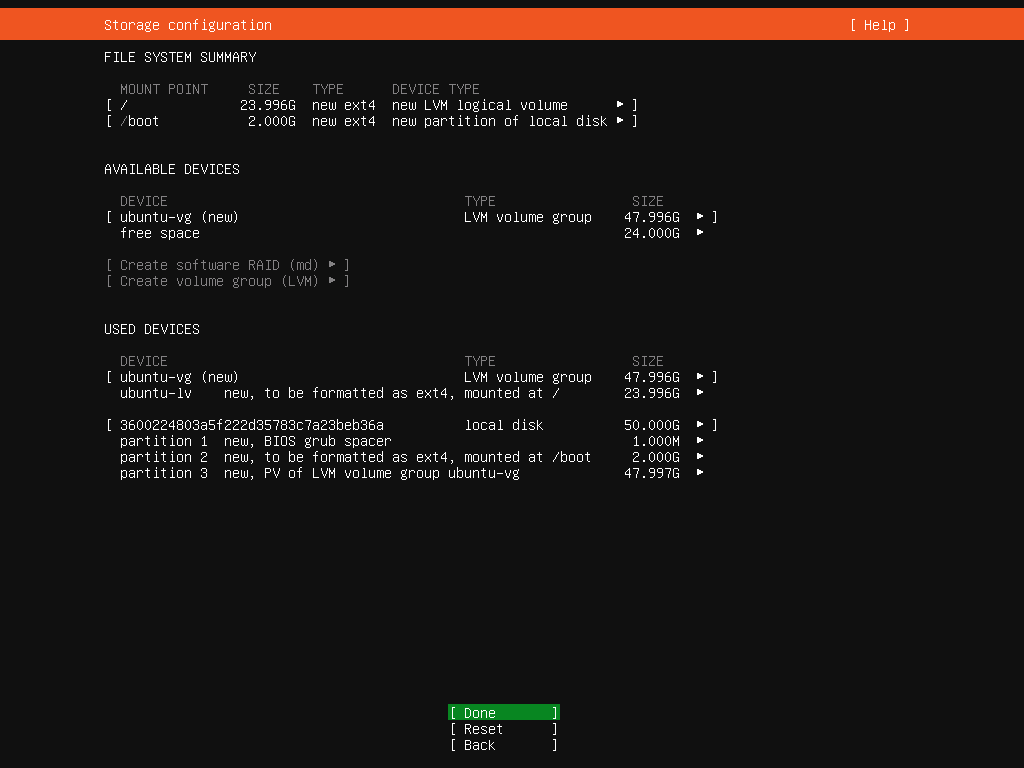
パーティション構成は提案通り特に触っていません。
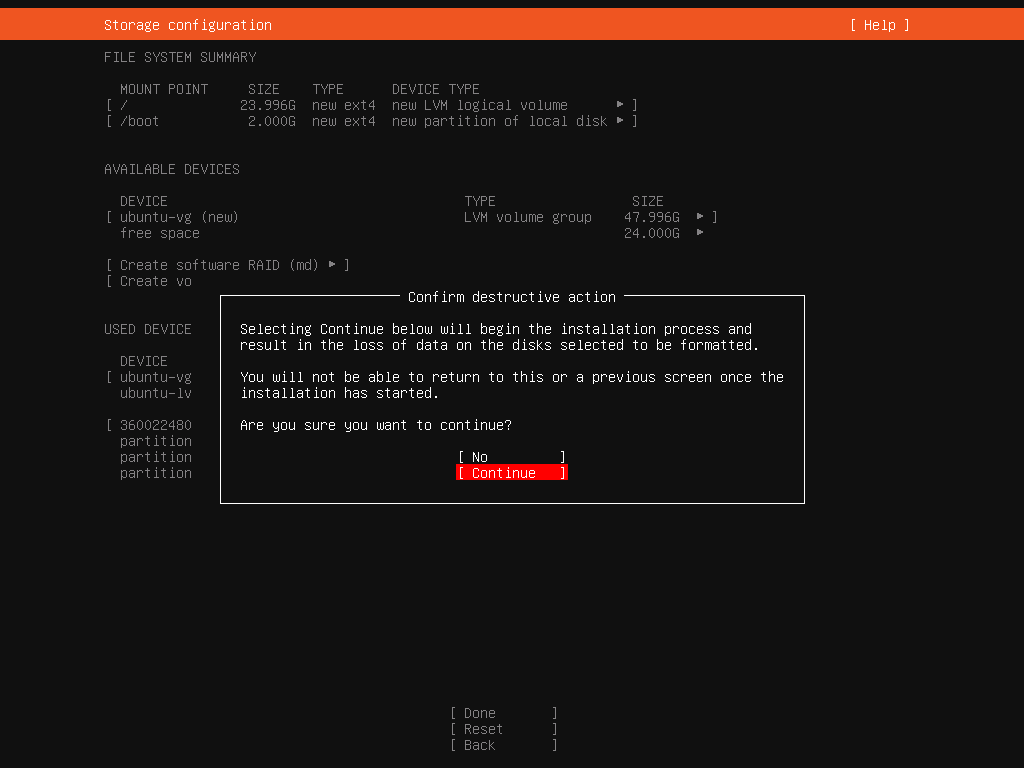
作ったばかりのディスクボリュームなので消えるものはないのでそのまま続けて大丈夫です。(既存ボリュームを使って構築されている場合は注意です)
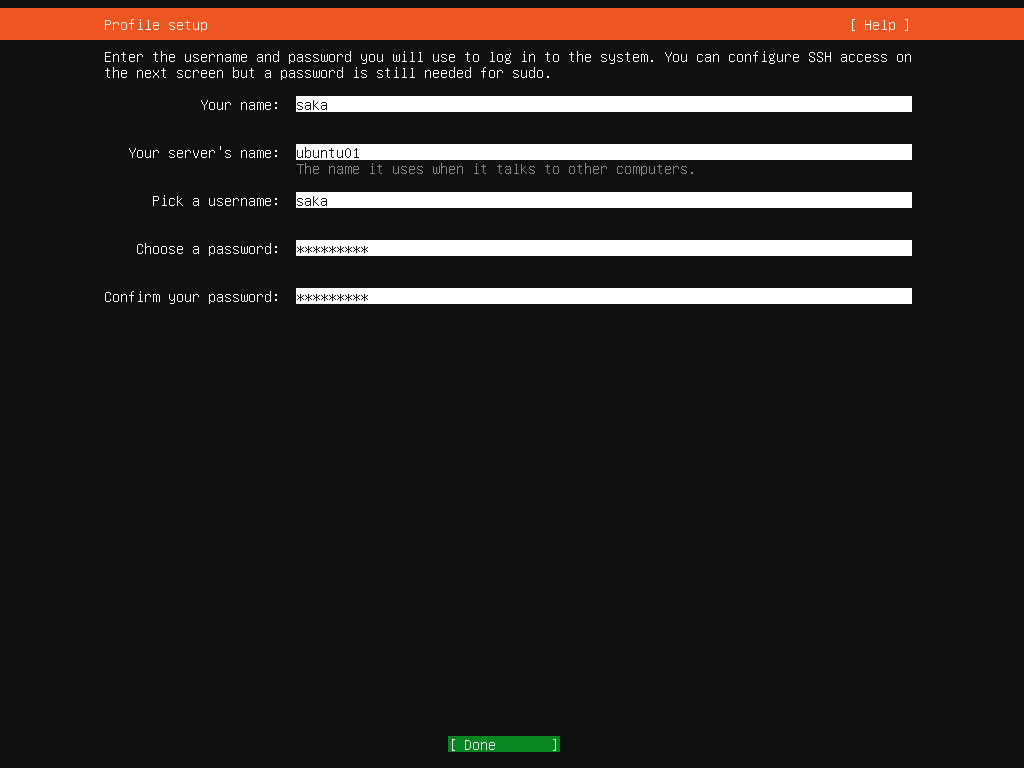
アカウントとパスワードを設定します。記載した内容を忘れないようにしましょう。
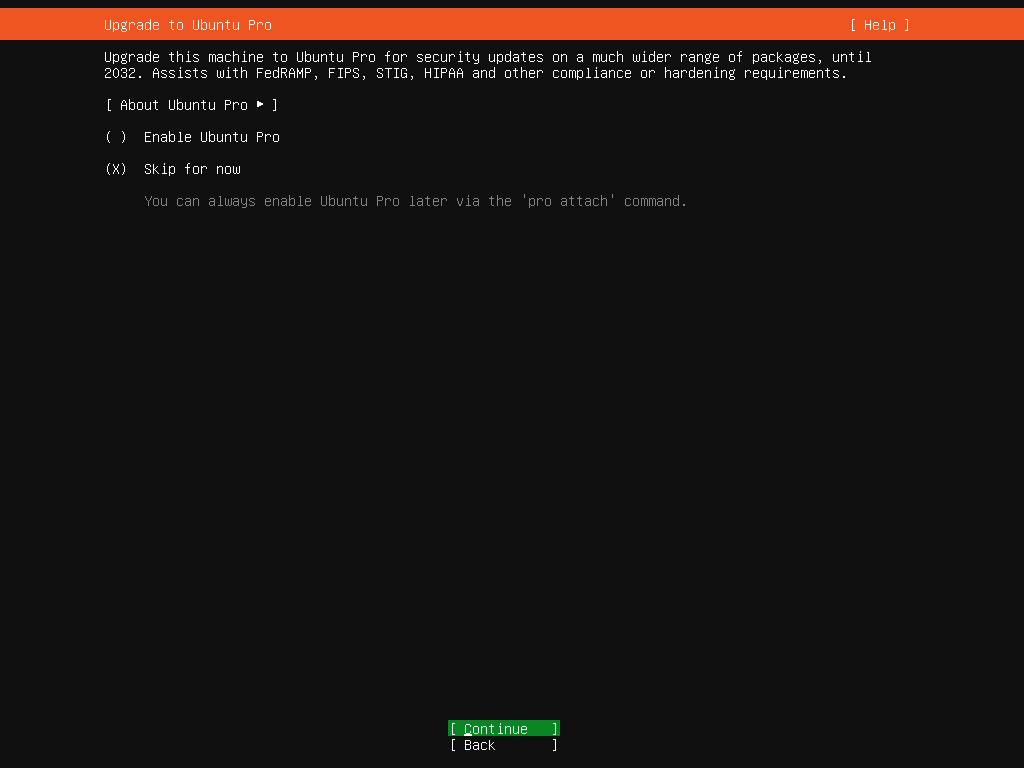
opensshはここでインストールしますが鍵を使った方式はここでは設定していません。必要があれば登録しておいてください。
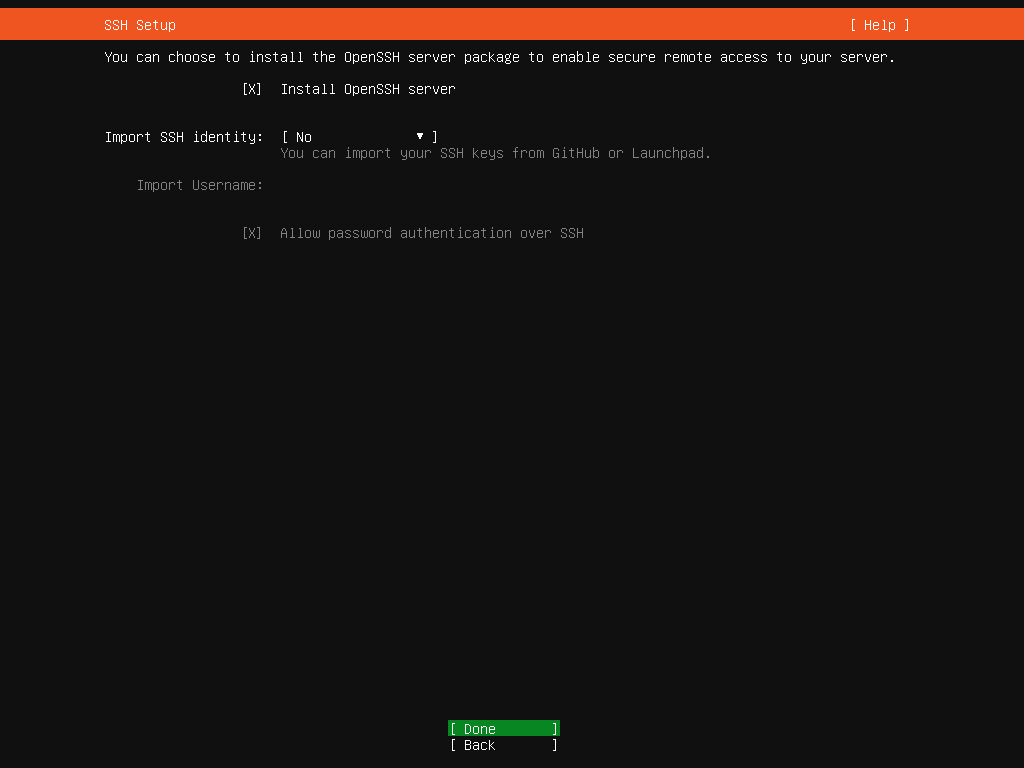
追加パッケージはここでは選択しません。インストール後 apt update -y した後で必要なものをインストールします。

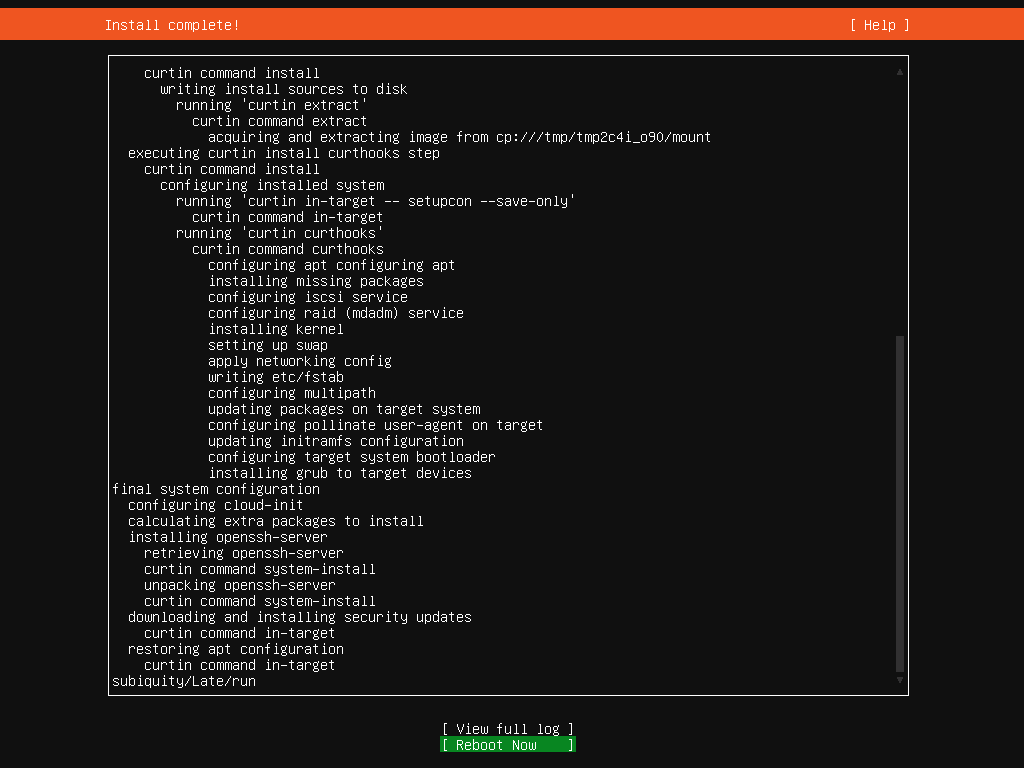
再起動をする前に、メディアを取出しておきます。

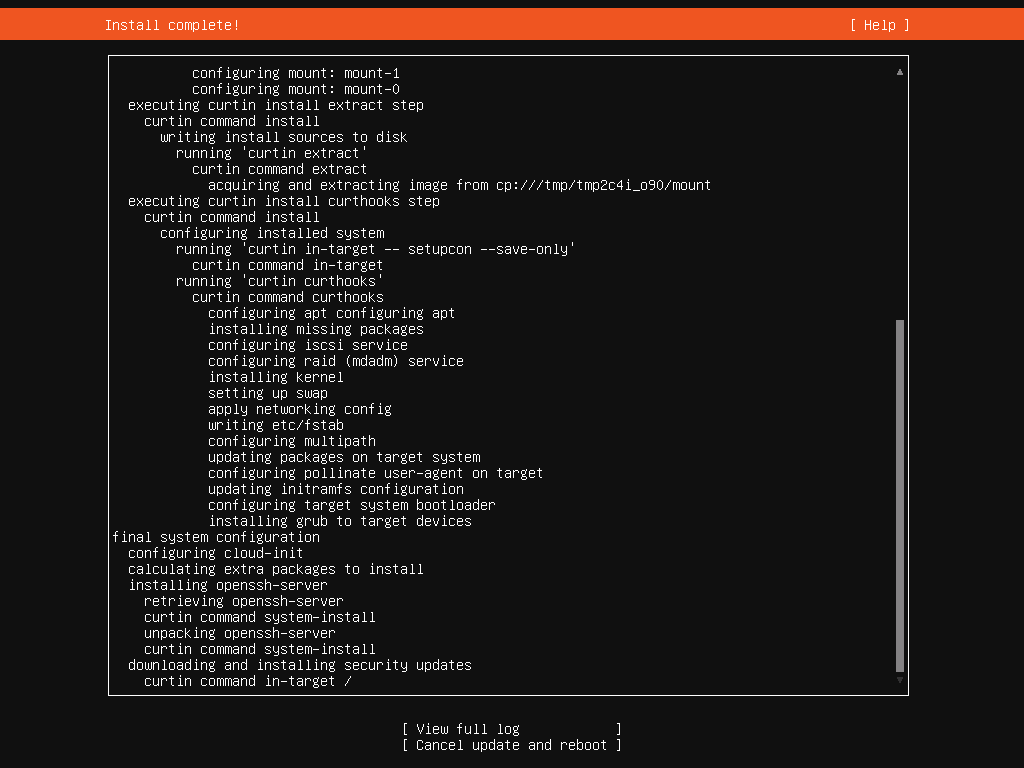
インストールが無事終了したのでRestart Nowします。
再起動後はsshのホストキー作成などでログインプロンプトが隠れてしまっていますが、Enterキーを押すと現れます。
以上でubuntuのインストール完了です!